How to install a solar plant on RCC roof?

India Inc is slowly and steadily inching towards a sustainable future. However, a lack of knowledge and lack of simple solutions is an obstacle to that future.
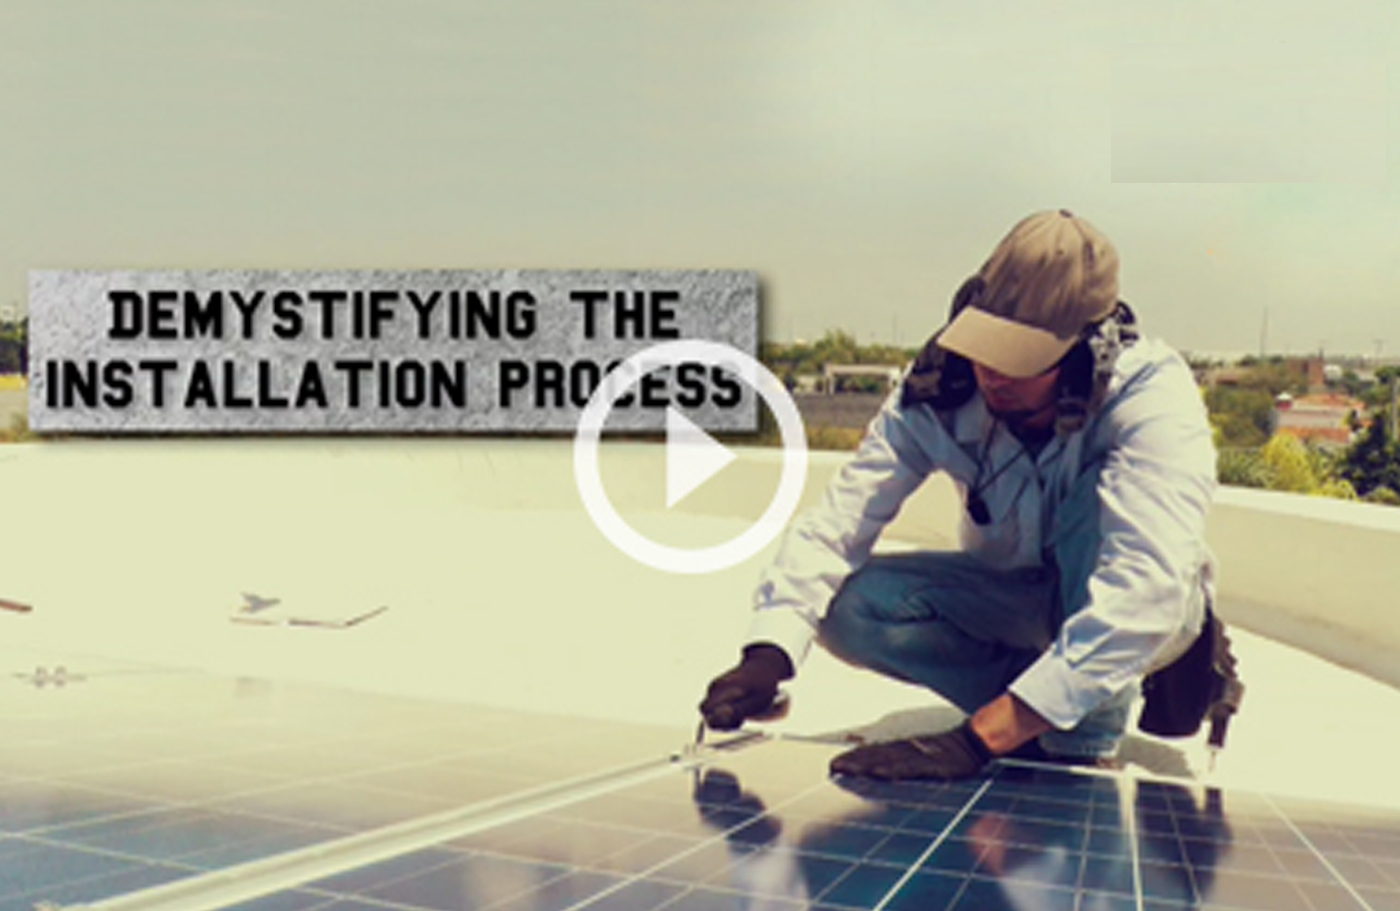
More than ever, corporates in India recognize that the solar revolution is real and can be a big part in their drive to be sustainable. But, sometimes the myths associated with solar energy creates false notions and slow adoption of the technology. This is why Resol has come up with a process video of actual installation of a rooftop solar power plant, to give you a feel for how a rooftop solar installation really works.
The video will not only help you understand the simplicity of the process, but clear certain misconceptions surrounding the project installation.
The video breaks up the installation into seven steps.
Step 1: Designing and Marking
The process of installing a solar plant begins with designing and marking on the rooftop.
Step 2: Civil Work and Curing
Next, engineers begin the civil work which includes building columns to hold module mounting structures. As you can see in the video, there is no drilling, anchoring or puncturing on the rooftop. The civil work took around 5-6 days to be completed.
Step 3: Module Mounting Structure Installation
In the third step, the execution team mounts the module mounting structures on the civil foundations.
Step 4: Module Installation
Once the module mounting structures are in place, solar modules (panels) are bolted onto the structures. The entire process is completed within a few days, depending on the size of installation. For this project, it got completed in 4 days.
Step 5: Cabling
Next, the solar modules are connected in series with DC cables to the inverter, and with AC cables from the inverter to the evacuation point (customer’s LT panel).
Step 6: Inverter Connection and Grid Synchronisation
Once the installation is ready, the inverter is charged, and begins synchronizing the solar power with the customer’s existing electrical grid.
Step 7: Seamless Power Distribution
Lastly, seamless power distribution begins as soon as the electrical connections are in place. Indeed, installing solar is not only a hassle-free solution to go green but also a wise business move to cut operational cost.
To know more about solar energy, or remove apprehensions about adopting solar or installing solar power system on your rooftop or land, Resol Energies or write in at resol@resol.in
Also, check out this guide to know How a Solar Power Plant is Maintained after installation.
